
Hand-Felting The Felt Tip Toque
All The Stuff You Need To Know

If you’re planning on making the Felt Tip Toque pattern, but are feeling a little nervous about felting your hat after all that knitting, fear not! Hand-felting is a simple and fun way to felt your hand-knits, as the process is much slower than felting in a washing machine, and you’ll be able to watch and control the entire felting process.
So what is felting anyways? Basically, it is this:
Felting is the process of matting, condensing, and essentially tangling protein fibres together using a combination of heat, moisture, friction, and agitation to create a dense and sturdy textile.
I’m not going to get into the science of it, but essentially most any protein fibre with the exception of silk will felt. Think wool, alpaca, mohair, llama, etc. When you felt fibre that has been knitted or woven into a fabric, the process is actually called “fulling”, but for all intents and purposes, I’m going to refer to it as felting, as that term is more familiar to most crafters.
Okay, so why the heck would anyone even want to do this to their knitting that they worked so hard on anyways? Usually felting and shrinking wool is something we all want to avoid with our hand-knits! Well, when you intentionally felt a knitted item it becomes extra warm and cozy, because all the gaps between the stitches close up keeping cold air out and warm air in. The fabric becomes extra dense, has a lot more structure, a smoother and more even appearance (no need to worry about uneven stitch tension), plus it just looks good! A felted knit item just has a really nice polished look! It’s also a great surface for doing embellishments on, like embroidery and appliqué, if that’s your thing
I think washing machine felting is probably the more commonly used method when it comes to felting, because the process is a lot less labour intensive. It’s a great method to use when you want to felt things like bags and housewares (coasters, placemats), if you’re felting something large, or you want a finished product with a super dense fabric. However, if you are making something that has to fit a certain way (hats, mittens), and the project is small (I wouldn’t recommend hand-felting large projects, as it would take forever!), you really want to have that control so you don’t end up over felting your project, because it can’t be undone.
Below is a very quick 3 minute video tutorial (with captions) to guide you through the hand-felting process. You’ll be amazed at how easy it is! For more felting tips, advice on how to do a Felt Test to check your yarn, and ways to block your felted piece, keep reading!
What Yarn to Choose for Felting?
When deciding on a yarn to choose for your Felt Tip Toque, it’s important to look for a few things. Not all yarns will work! Here’s a list of what to look for.
The best yarns for hand-felting are:
yarns that are either 100% wool, or a blend of wool with another animal fibre such as alpaca, mohair, llama, or other. Make sure the yarn doesn’t contain synthetic fibres (although synthetic tweed flecks are ok). Keep in mind that longer staple fibres like mohair and Icelandic wool will felt into a more fuzzy looking fabric.
yarns that are NON-SUPERWASH! The point of superwashing is to prevent the wool from felting, so obviously we don’t want that in this case.
yarns that are not treated in other ways, such as with starches or other stiffeners, coatings, sealants, waxes, oils (lanolin is okay), or other chemicals. Untreated fibre is your best bet. If you suspect your yarn is treated with something, wash it thoroughly beforehand.
yarns that are not lightened or bleached to be a very bright white. White coloured wool just doesn’t felt well because the process of making it lighter does something to it to inhibit the felting process. So if you really want a white hat, perhaps opt for a natural sheep white and proceed with caution! Even some of the natural whites don’t seem to want to felt either.
If in doubt, do a FELT TEST!!!!!! Otherwise, prepare yourself for having a really big floppy unfeltable hat, or perhaps a thimble. Maybe that is okay with you. There’s a list of suggested yarns in the pattern PDF. Please check it out.
Felt Test
I highly recommend doing what I call a “FELT TEST” before beginning your Felt Tip Toque project. Not all yarns will felt equally, even if they are 100% animal fibre and non-superwash. Some yarns will be very resistant to felting, will take forever to felt, and might never actually shrink down or lose their stitch definition. Some yarns are extremely sensitive and will felt almost immediately. Even the colour of a yarn seems to affect how it felts. I made all three of my samples in the same yarn brand, J & S 2-ply Jumper Weight, and yet the light grey version took twice the felting time with really vigorous agitation. This could be because the colour was blended with a bleached wool that doesn’t felt well, as mentioned above. The charcoal one I made felted in only a few minutes!
How to do a Felt Test
Using 4mm (US 6) needles (or the needles you need to obtain the stated pattern gauge), make a swatch in Stocking / Stockinette stitch that is 22 stitches wide, and 27 rows tall. Bind off. Wet block and dry your swatch nice and flat so that it measures 10cm / 4” square. Felt your swatch by following the hand-felting instructions in the above video tutorial. Since your swatch is quite small, it should (hopefully) felt quickly. Keep a measuring tape or ruler nearby so you can check the size of the swatch as you felt.
When the swatch becomes firm and has shrunk down to be about 9cm / 3.5” in width or slightly smaller, and the stitch definition of the knitted fabric is no longer visible, then your yarn has successfully felted! It’s normal for your swatch to felt more in height than in width, so your swatch might be more rectangular, or it might be square.
Very Important! Please Read: Most yarns will felt more in height than in width, and you’ll notice that after felting, your swatch might be more of a rectangle than a square. Unfortunately this seems to occur at varying rates depending on the yarn. The Jamieson & Smith Jumper Weight 2 ply that I used for the pattern felted just slightly more in height than in width, but chances are if you are substituting a different yarn, your swatch will probably shrink more in height (like more than 1cm / .5”). If this happens I would recommend adding some length to your toque before felting so your finished hat doesn’t end up too short. As a general recommendation, add at least an additional 2.5cm / 1” to the length stated in the pattern. This will hopefully offer you a little extra length to play with, but it’s possible you might need even more length. Please use your own discretion based on how much your swatch felts.
If you’re worried that your hat might end up being too long, there are a few things you can do. You can wear the hat with the brim folded up twice or even three times, or roll it. Or if you like to live dangerously, felted fabric can be trimmed without it unravelling, as long as it’s fully felted. If you choose to do this, you might want to re-felt the trimmed edge after cutting it to give it a less harsh looking cut hem. Seriously though, I think I’d prefer just living with a hat with a longer brim!

Swatch measures approx 10cm / 4” square before hand-felting

Swatch measures approx 9cm / 3.5” wide and 8.5cm / 3.25” tall after hand-felting
The swatch in the images above is knit in J & S 2-ply Jumper Weight (shade 23). On the left is the swatch before hand-felting, and on the right is after hand-felting. As you can see, it felted just slightly more in height than in width. The specified length given in the pattern (23cm / 9”) is written to accommodate this rate of shrinkage, or similar, so you don’t need to add any extra length if this is how your swatch felts.

Swatch measures approx 10cm / 4” square before hand-felting

Swatch measures approx 9cm / 3.5” wide and 8cm / 3” tall after hand-felting
The swatch in the images above is knit in Holst Garn Supersoft (Fenland). On the left is the swatch before hand-felting, and on the right is after hand-felting. This yarn felted more in height than in width, and even though I feel like I could have probably stretched out my swatch or would have enough length as it is, I still would recommend adding some length to your hat just to be safe if this is the case for your yarn. If your swatch has felted more than this in height (like shorter than 8cm / 3”), I would definitely add in that extra 2.5cm / 1” of length, and maybe a little extra!
Now, if your swatch has shrunk a lot in each direction, and has become very dense and thick, just be careful when felting your actual hat, as it could mean that your yarn is very sensitive and felts quickly, which could possibly lead to over-felting, resulting in a hat that’s too small with no stretch at all! Keep a measuring tape nearby, and check your hat’s measurements often.
On the other hand, if you’ve been felting your swatch for a very long time, and either nothing or very little has happened to its size, your yarn might not be feltable, and is therefore the wrong choice for this project. Boo.
During the test knit for this pattern it was observed that about half of the test knitters hats felted to be too short and at varying lengths when the hat was knit to the length of 20cm / 8” before crown shaping. Because of this, an extra 2.5cm / 1” of length was added to the pattern’s specified length after the test knit (23cm / 9”). I tested this new length, and found it worked quite well. The brim could still be double folded nicely, and was nice and deep with a single fold similar to my original three samples (grey, charcoal, red). Since all yarns felt differently, it’s very difficult for me to give you an exact equation on how much length to add or not to add to your hat. I’m sorry I can’t be more helpful in this matter, but this is the best I can do at this point. I did so many tests and lots of math, and could come up with nothing consistent. It was kind of stressful actually, and I worried a lot about knitters being upset with their final results. But now it’s time for me to move on from this headache, so I kindly ask that you please don’t email me about this! Felting is really a strange animal, and sometimes the results can be unexpected. If in doubt, follow the pattern as written, and plan to make a second hat if the first doesn’t turn out the way you want! Just try to have fun!

before felting, and after
Some More Stuff to Know About Hand-Felting
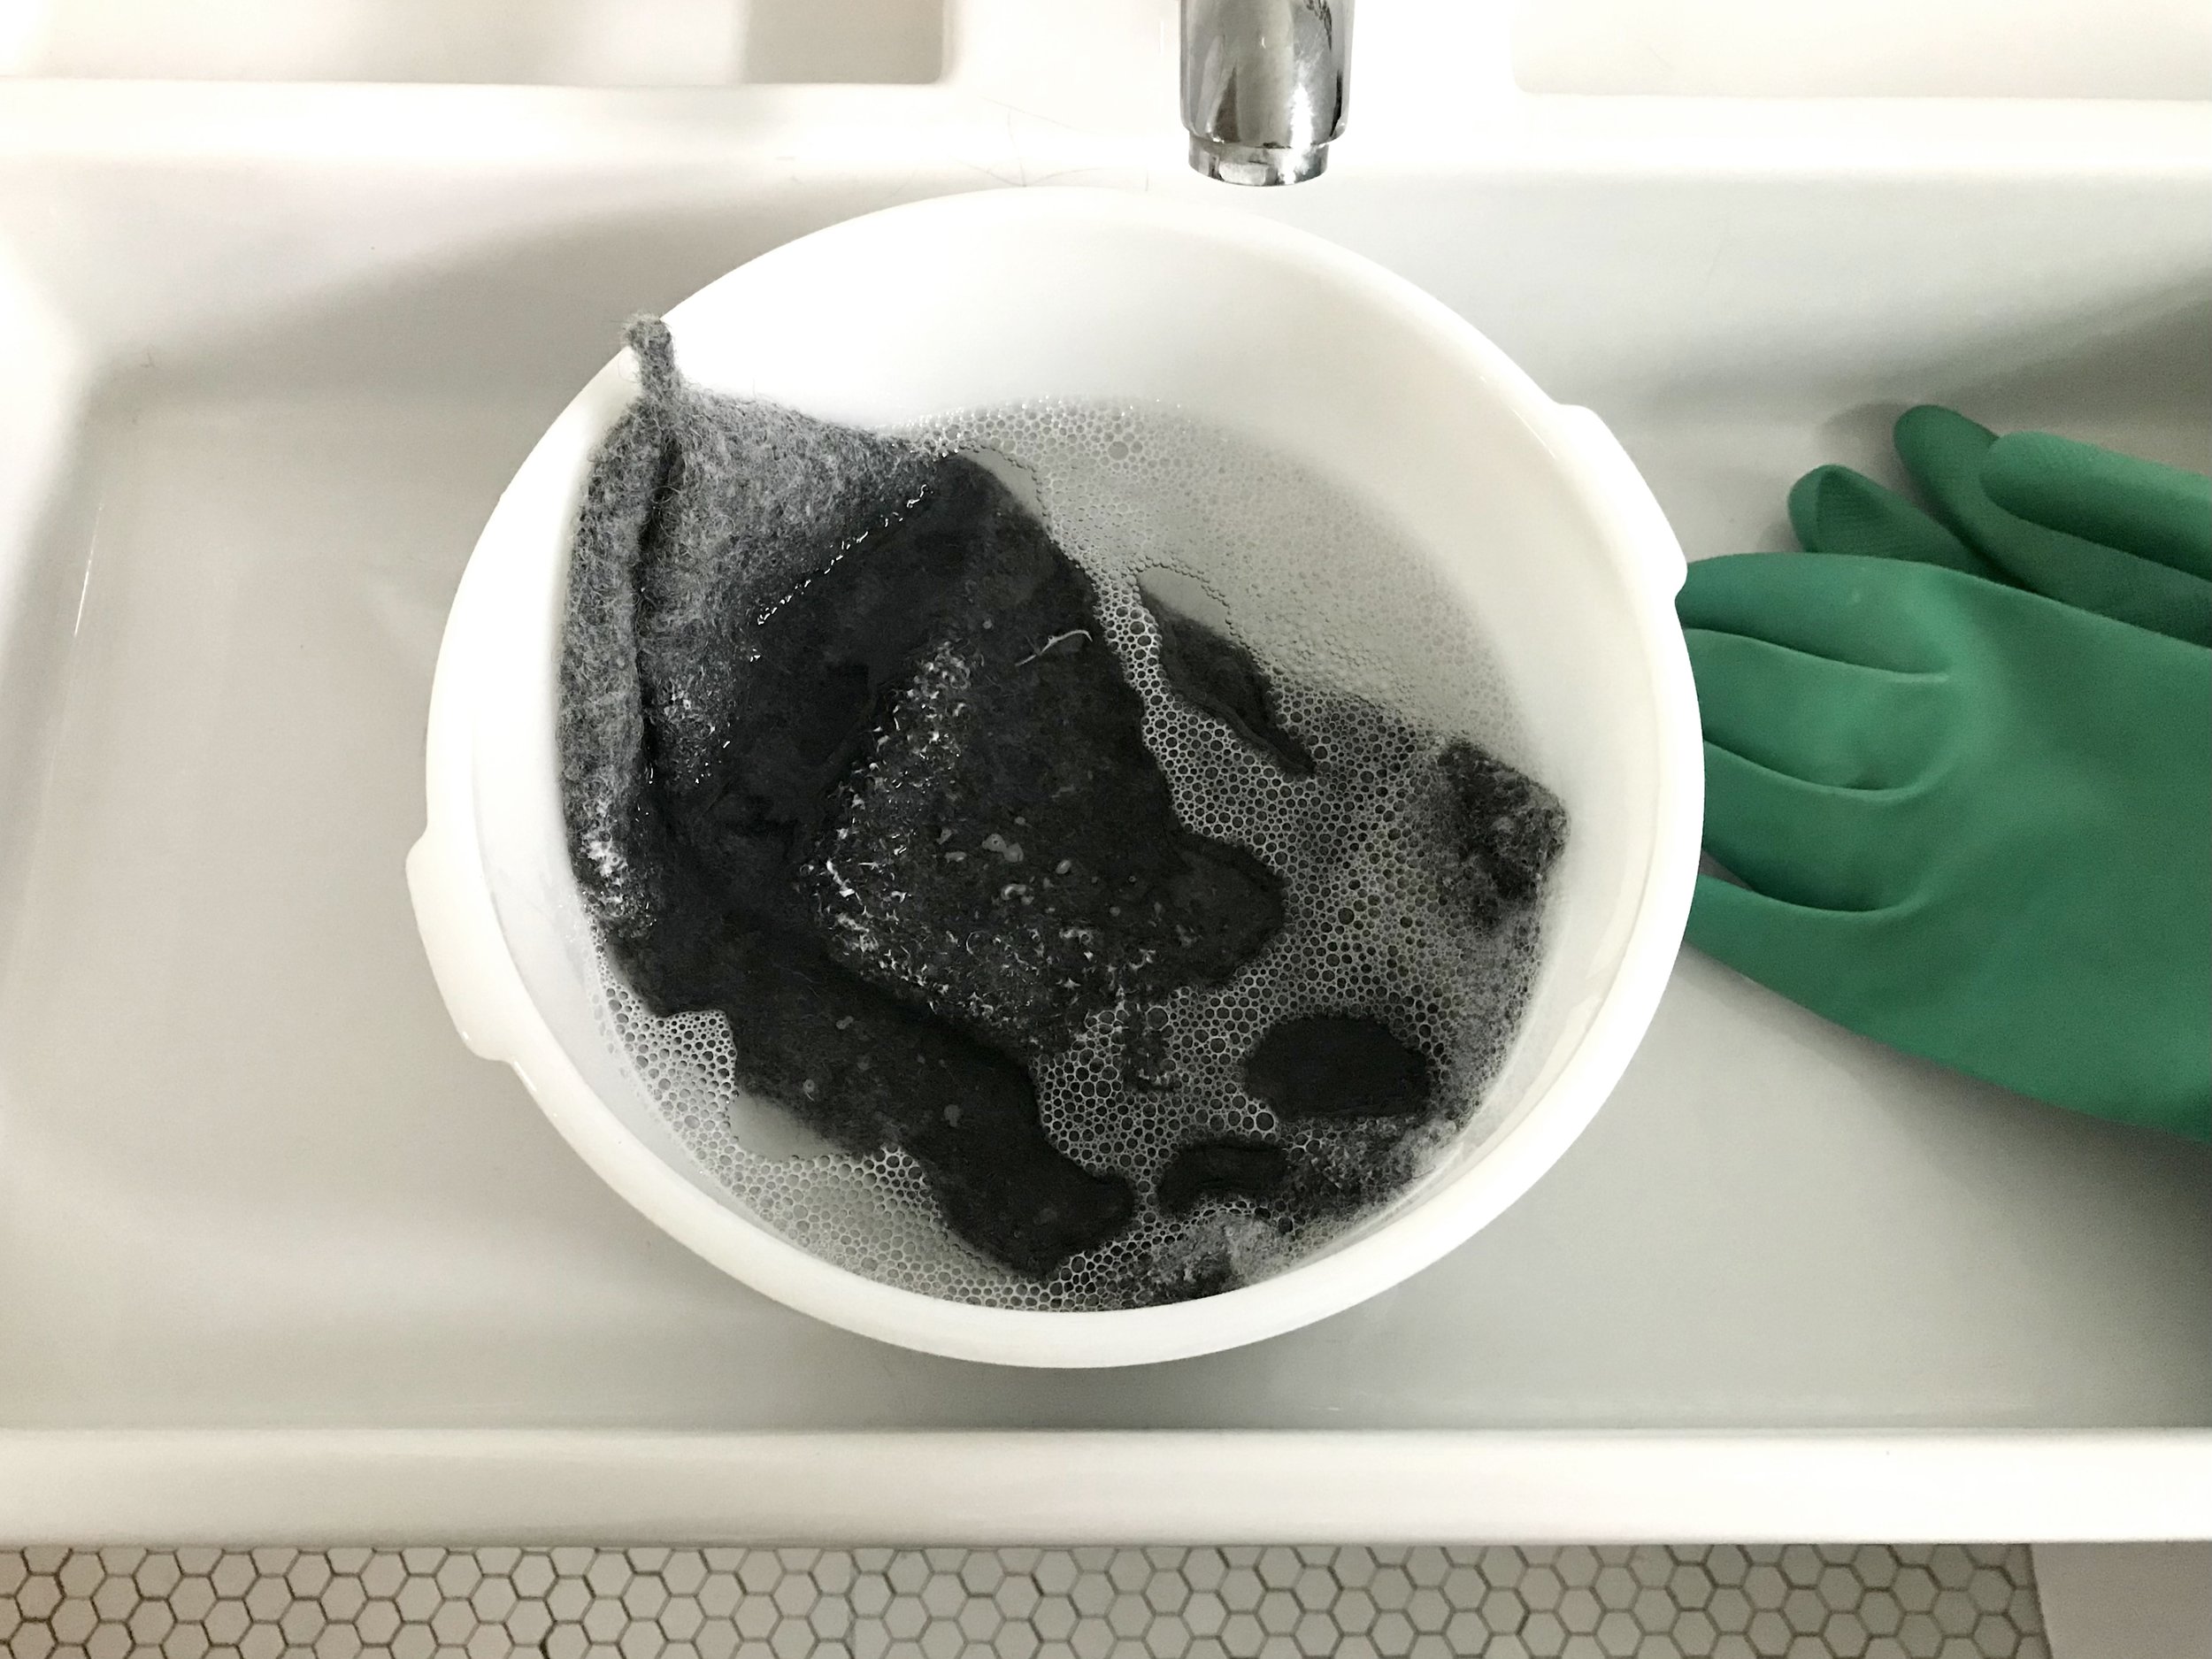
Use water that is as hot as you can stand while wearing gloves. It shouldn’t be boiling, because you could really hurt yourself! I like to start with boiled water, and then bring the temperature down with tap water until it’s a comfortable temperature.
If you have rubber gloves with texture on the palms, that will help the felting process along by adding some extra friction. If your gloves are smooth, don’t worry, they will still work!
If you used a very saturated coloured yarn, some of the dye might run out into your felting water. It looks a bit yuck, but don’t worry too much about it.
Your arms might get very tired while hand-felting since it can take a while. Take breaks if you need to! Don’t hurt yourself.
Your hat may appear to be getting bigger rather than smaller at first. Knitting is stretchy, and when it gets weighed down with water, well, it stretches! It will start to get smaller once the felting process kicks in.
Don’t give up! Unless your swatch did not felt during the Felt Test, then your hat will eventually felt. It can take anywhere from 10 to 30 minutes (maybe longer!) to felt by hand. Keep going.
Don’t forget to check the inside of your hat when felting to make sure the stitch definition is felting away too. You can flip your hat inside out if needed.
Make sure to rinse out any extra soap before blocking!
Felted fabric has a bit of stretch, but is nowhere near as elastic as unfelted knit fabric, and doesn’t really have any memory (it won’t bounce back to its size and shape after being stretched). Keep this in mind when felting your hat to your head size. A bit of negative ease is nice, as the hat will eventually mold to your head, and when it’s wet you can stretch and shape it out a bit.
You can always re-felt your hat if it gets too stretched out from use!
If you do end up felting your hat too small and dense, and it just won’t fit on your head, perhaps you can use it as a bag or a bowl?
How To Block Your Felt Tip Toque
After the felting process, gently rinse your hat in cold water. Wring out excess water and gently roll in some towels so that the hat is damp, and not holding a lot of water. Now, you have 2 main options of how you can block your finished Felt Tip Toque. Be aware that whatever shape you leave your hat to dry in, that’s pretty much how it will stay unless you re-block. So any creases, uneven edges, or bumps will remain. You can use this to your advantage to shape the crown to be more pointed or round, depending on what you prefer. Regardless of how you block your hat, make sure you spend some time really smoothing it out. I also recommend blocking your hat with the brim unfolded. You don’t want to end up with a big fold line in the wrong spot. It’s easier to adjust the brim fold after the hat is dry,

Option #1 : Block it Flat
This is the method most knitting patterns use. Lay your damp hat out on a flat surface and smooth it out, making sure there are no wrinkles, and that the hem is straight. Check that the hat’s measurements are correct, and leave it to fully dry. As you can see in the image to the right, I like to block my hat flat with the crown slightly curved up at the sides and top so it’s not actually completely flat. This is so that I don’t distort the hat’s actual shape and so the crown ends up slightly rounded. You can manipulate your hat to be completely flat if desired. The hat will end up with creases at the sides, and a more flattened crown, but this doesn’t look bad and gives it a similar look to how many readymade beanies look. After wearing it a few times, the creases will eventually become less sharp and defined.

felted hat stuffed with plastic bags
Option #2 Block it Round (my preference)
Gently shape your hat over something with a round shape, such as a bowl, an inflated balloon, or if you’re lucky enough to have one, a wooden millinery hat block. If you don’t have any of these sorts of objects, you can lightly stuff your hat with plastic bags or rags to the desired shape. Just be careful not to create any lumps or bumps in your hat, as once it’s dry, they will stay there. Leave the hat on its side or upright sitting on its crown to fully dry.

hats being shaped on cones of yarn
I am lucky enough to have a few cones of yarn laying about, which I found were a great shape to block my hats on! To create a more rounded crown shape on the top, I just stuck a random ball of yarn on top of the cone and put it all in a bag to protect it from getting wet. I carefully stretched the hat over the cone, and then left it to dry this way. It looks odd for sure, but I love the results!
Once your hat is dry, you can fold up the brim once, twice, or even roll it up to create different looks. The brim can also be tucked to the inside, or you can leave it unfolded for an extra slouchy style although you might need a pin to keep it from popping up. So many possibilities!
As I mentioned earlier, the Felt Tip Toque is also a great canvas for embellishment! Because of the smooth nature of felted wool fabric, it’s really easy to embroider and sew on. There are many cool details you could add to your hat. I hope you’ll experiment.
Alright, I think that’s it! I really hope you enjoy hand-felting. It can seem a bit risky and intimidating, as it is a permanent process, but go slowly and with an open mind, and you’ll have lots of fun!
Also, you might have noticed there is a disclaimer in this pattern. Sucks that I had to write one, but it was necessary since felting can be unpredictable sometimes, and things can go wrong which is no one’s fault. I hope you’ll understand.
And now please enjoy this styling inspiration, courtesy of Buffy the Vampire Slayer (see Buffy, not Spike)! I recently came across this while rewatching some episodes and loved this doubled rolled up brim look! Her hat seems to be more of a beret, and now I’m wondering if the Felt Tip Toque could be blocked to be more this shape. I will have to experiment! Got to love that early 2000’s Y2K look!
-Kiyomi

Image of Buffy and Spike from Buffy the Vampire Slayer, season 6, episode 17, Normal Again