


GINSAN POCKET TUTORIAL
A photo guide on how to construct Ginsan’s unique pockets! ~ by Kiyomi
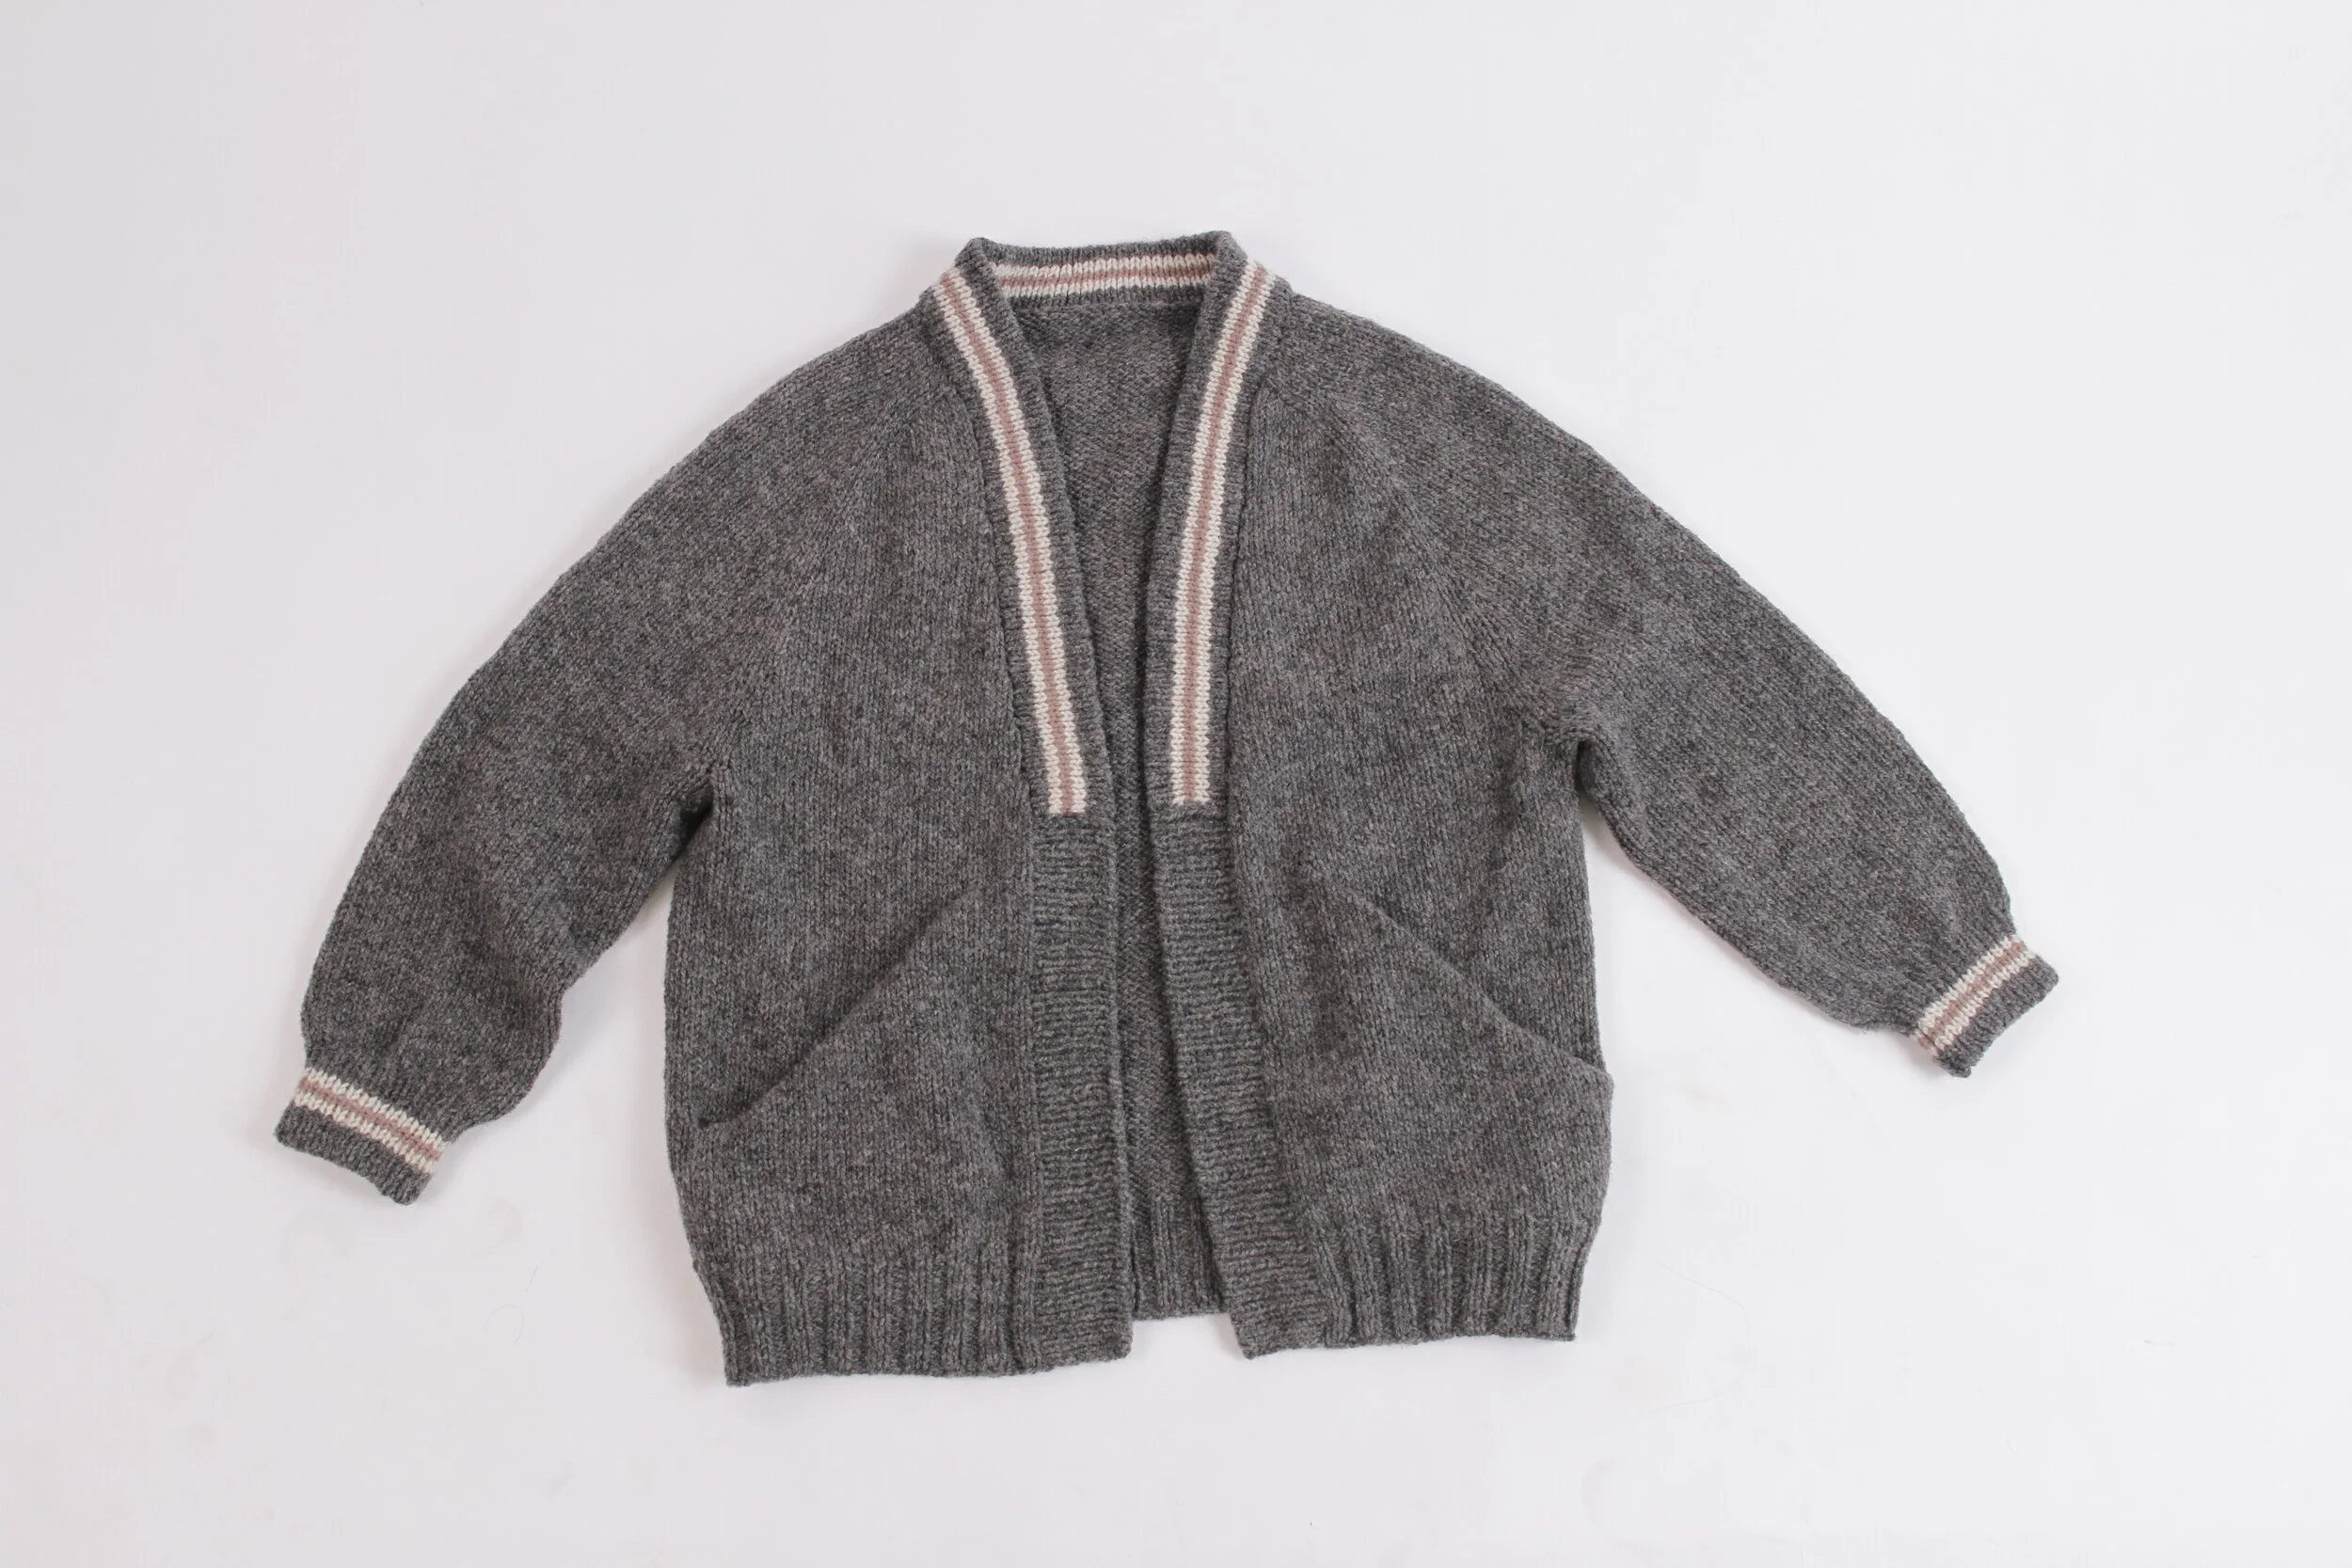
The Ginsan cardigan (as seen in our book, Moon And Turtle), is a fairly straightforward knit, with top down raglan shaping. It also features two diagonally ‘cut’ front pockets, that fold seamlessly into the cardigan fronts. Although they look a little tricky, these pockets are actually really simple to make, and use very basic knitting techniques. However, they can seem a little confusing while working them when you’re unfamiliar with their construction. Hopefully this tutorial helps to explain the process and soothe any unease.
You Will Need:
a Ginsan cardigan, completed up until the point just before the pattern section ‘Left Pocket Flap’
working needle and yarn (I used a contrasting colour yarn, but use the yarn you are working with!)
stitch holders, waste yarn, or spare needles
needles in your preferred style for working small circumferences
stitch marker
needles for working a three-needle cast-off (double pointed needles recommended)
Notes:
For some steps, a contrasting coloured yarn is used to more clearly show what is happening. Just pretend it’s the same colour as the working yarn.
In this tutorial we are mostly looking at the left side pocket (left side when worn). The right side pocket is worked in the same manner, but isn’t really explained in this tutorial in any great way.
We took these photos over a number of days, as it takes a bit of knitting time between each step. Thus, the lighting changes a bit from image to image. Please excuse the inconsistency!
The info found in this post is a tutorial, not a knitting pattern! To use this tutorial you will need to have a copy of the Ginsan pattern. It can be found in our book Moon And Turtle.
TUTORIAL BEGINS

You’ve just completed the pattern section ‘Divide for Pockets’ and are just about to start the section ‘Left Pocket Flap’ for the Ginsan cardigan. When you look at your work, the left side (as if you are wearing it) should look like the image to the left, with three sections of stitches placed on hold:
1. Stitches placed on hold at the edge
2. Stitches placed on hold after working even in Stockinette stitch for 16.5-18cm / 6.5-7” even
3. Remaining centres stitches placed on hold (sorry the image got cut off a bit. I placed these stitches on a spare circular needle)
The other end for the right pocket should look the same.
Break yarn and begin “Left Pocket Flap”.

1. With right side facing, place the stitches on hold at the left front edge onto working needle and rejoin yarn (red yarn for this tutorial). Knit these stitches, then pick up and knit required number of stitches (3 stitches for every 4 rows is recommended) along the vertical side edge of centre panel right up to the top corner of the side centre panel.

2. Work in Stockinette stitch to required length, ending with a WS row. This will require a bit of time, so come back here when you’re ready!
Break yarn and place stitches on holder or waste yarn.
3. Work in the same manner as instructed in the pattern for the ‘Right Pocket Flap’, leaving these stitches on your working needle.

When both pocket flaps are completed, your piece should look something like this, with the left pocket flap on holders, and the right pocket flap still on the working needle.

4. Turn piece to wrong side. Purl stitches for right pocket flap, then place stitches for centre panel back onto lefthand working needle* leaving the stitches at each end on hold, and bring the righthand needle with the right pocket flap stitches over to meet the lefthand needle (it’s okay that it gets all folded up), and purl centre panel stitches, then place stitches for left pocket flap back onto working needle and purl across.
*If you used a spare needle to hold the centre panel stitches, you can simply just purl across the stitches without transferring the stitches to your working needle, removing the spare needle as you go.

Right pocket flap, back centre panel, and left pocket flap are now joined together into one row! You might need to straighten out the pocket folds so that they lay flat.

Each end of your work should now look like this, with an angled folded section at each side. That was the hardest part, so if you got through it, great job!
You can now continue as the pattern further instructs, completing the body and front bands. Come back here when it’s time to make the pocket bags!
Pocket Bags

Start with the right side facing and with the left side pocket. If the pocket flap is tucked in, pull it out to the right side of the work so it looks like the above image on the right.

2. Using a needle in your preferred style for working small circumferences (I used a 40cm / 16” circular needle), return stitches on hold for pocket back onto needle. Join yarn and knit these stitches, then pick up and knit specified number of stitches along the remaining edge of the pocket flap. Place a marker to indicate beginning of round and join in the round.
3. Working in Stockinette stitch in the round, work until pocket bag measures 10cm / 4”. Push pocket to wrong side of work. Divide stitches onto two needles and work a three-needle cast-off to close.

4. Repeat pocket bag directions for right side. The pockets are now done!
Do a happy dance!
Your Ginsan is now almost complete and ready to wear! Just weave in the ends and give it a good wet block.
I hope you love your new cardigan and are enjoying our book Moon And Turtle! Thanks so much and happy knitting!
-Kiyomi

PS and FYI: I’ve used similarly constructed pockets on two of my other designs before: Kiyo, and the Queen Street Sweater. However the Ginsan pockets have the best and simplest construction of the bunch! Just thought you should know!